Originally posted on October 27, 2008 as “Not my mom’s pot roast”
This is easy. My mom didn’t really make pot roast. My memories, growing up in an Italian family on the east coast, were of risotto, bracciole, meatballs and the occasional roast beef. Unfortunately, roasts were not her forte. My dad would always ask her to under cook it “You can put it back in if it’s not done but if it’s overcooked, it’s too late.” Funny that my dad who never did more than walk through the kitchen was giving her advice! But, to this day, guess what? I remember what he said and I always check cakes, muffins, and roasts before they are done. A great tip.
Sorry for the digression. When I was in college, the training was more classic; sauces, souffles, and sauteing. It wasn’t until I moved to New England and worked in health care foodservice that I learned about things like casseroles and other comfort food. Prior to that, I hadn’t really cooked like that. I think back then, everyone was trying to make things so gourmet (think salmon with dill sauce and chicken dijon), that they forgot about the basics. I have grown to appreciate the simplicity of the pot roast.
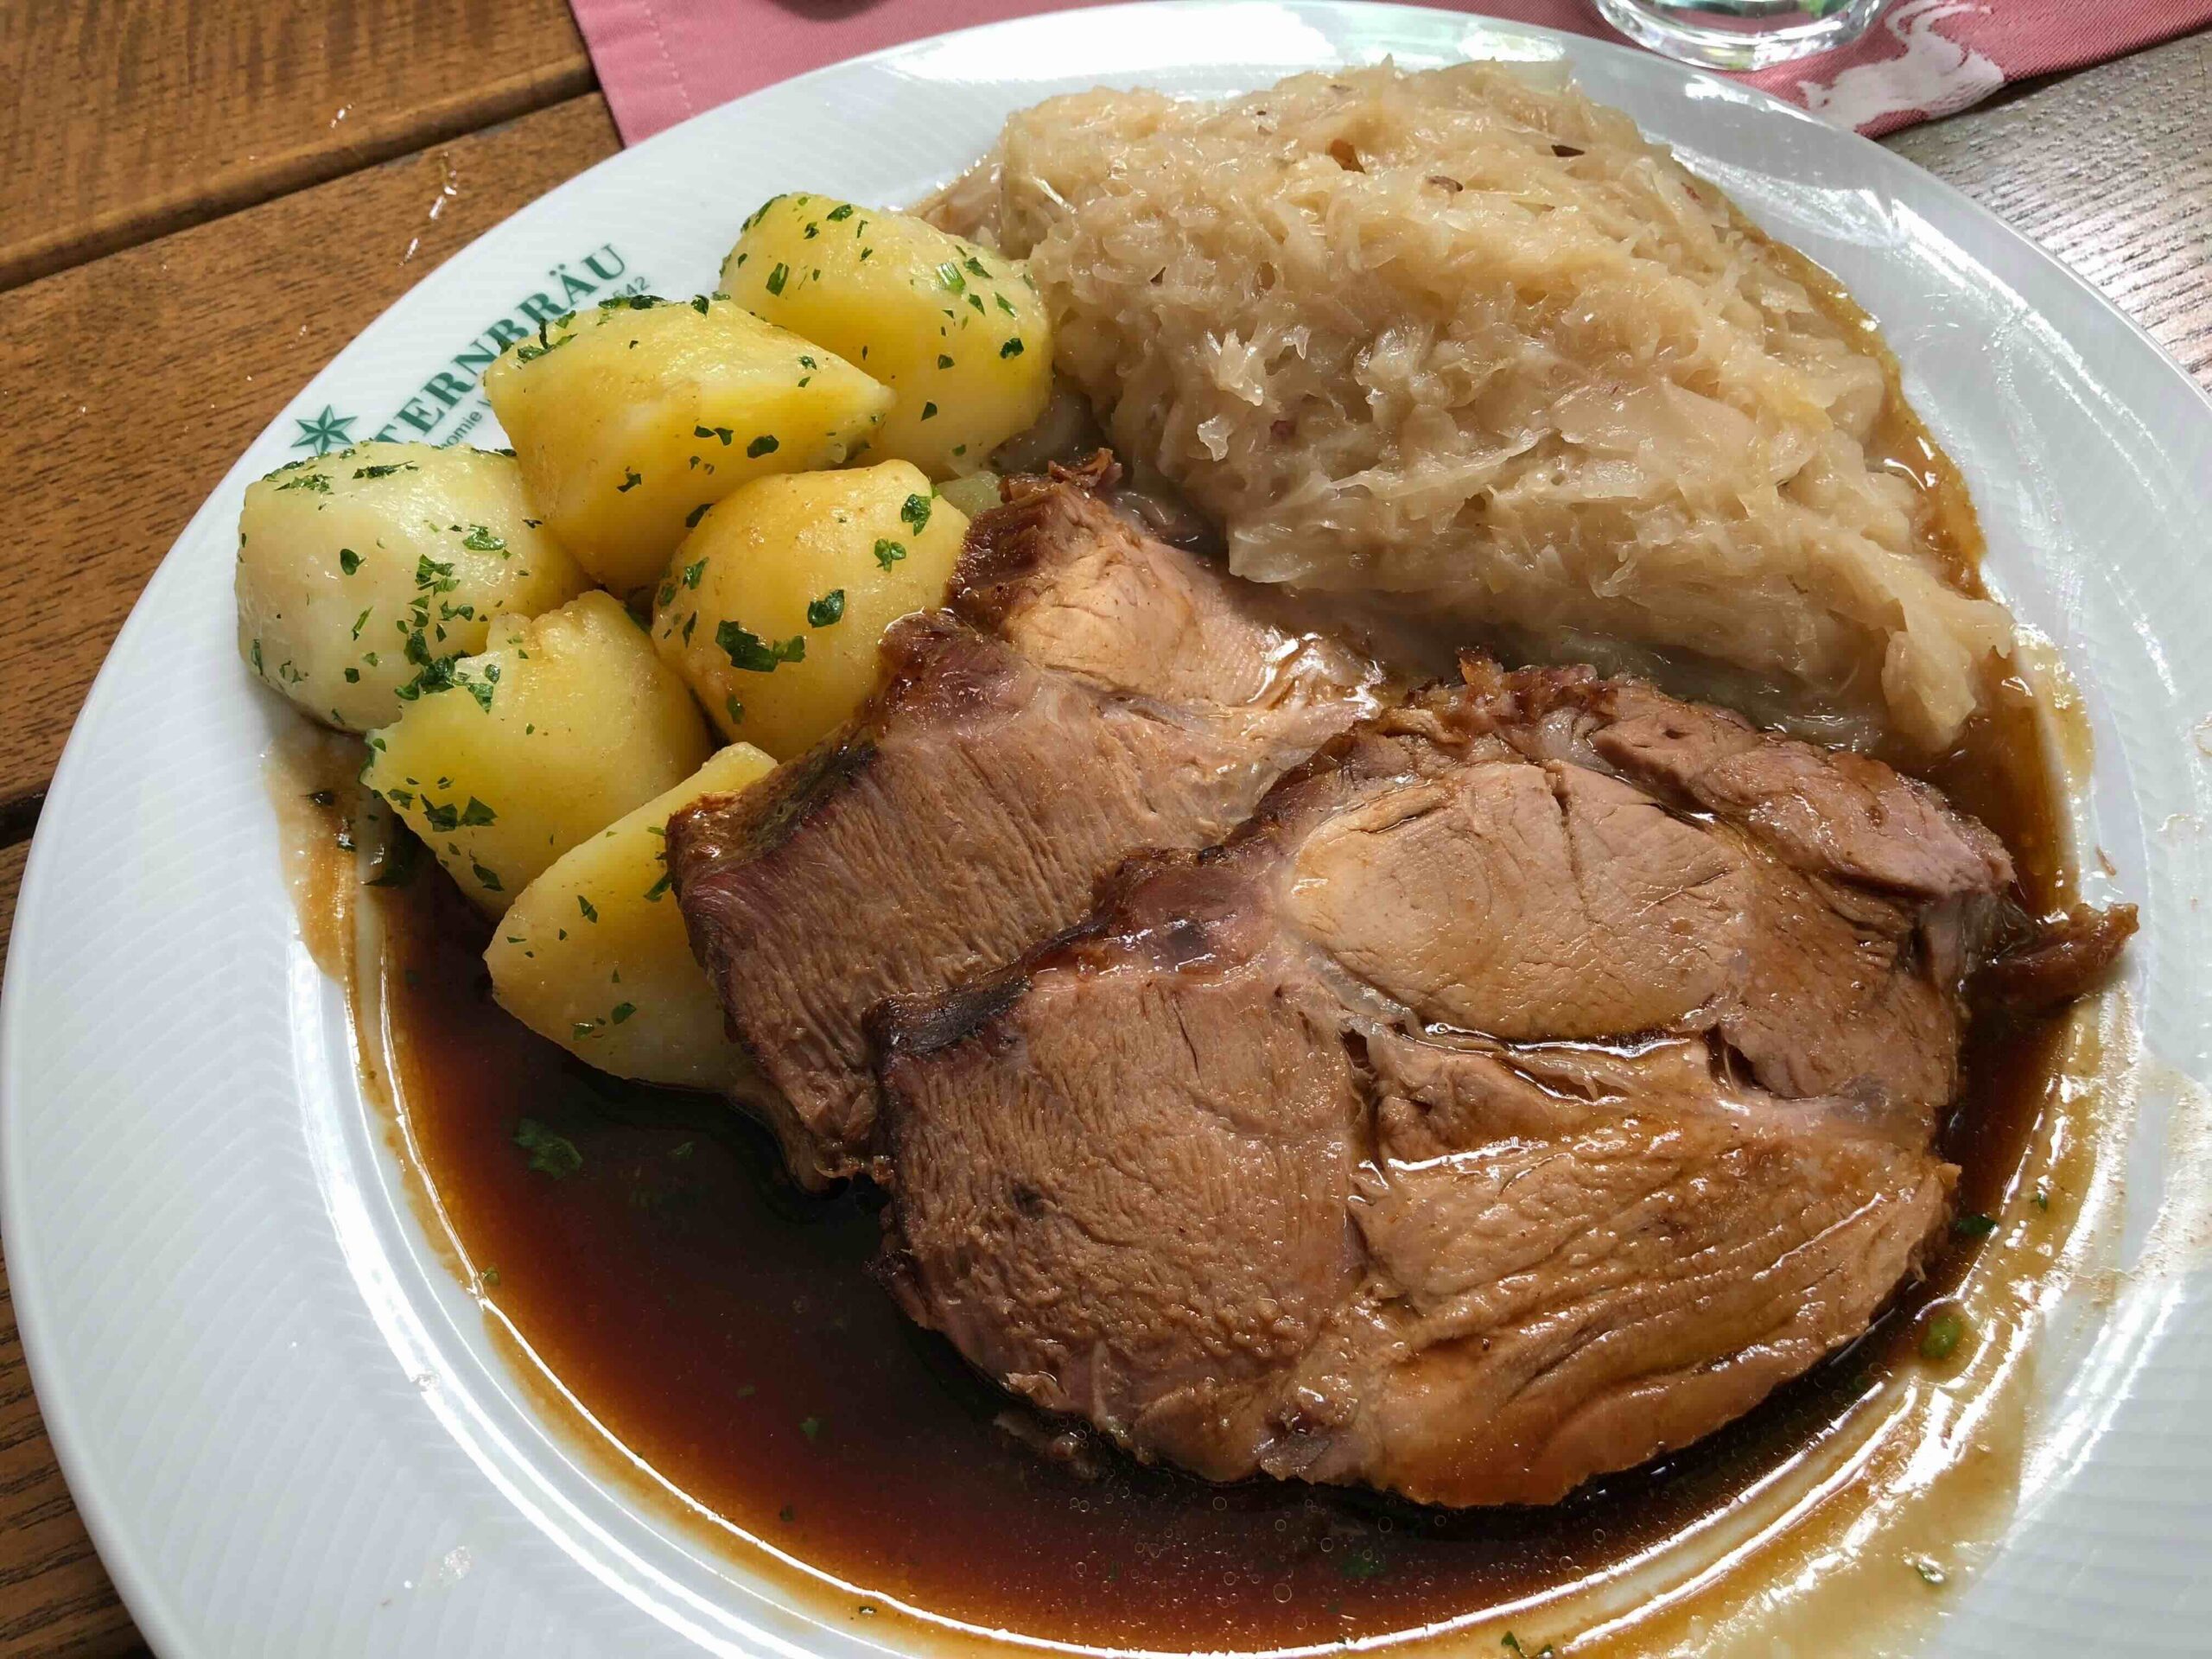
Many years ago, I was lucky enough to purchase, with some friends, a large amount of grass-fed, no antibiotics, locally raised beef from Markegard Farms. I was very happy with the quality as well as the flavor and noticed there’s actually less fat (cows that are not fed grains are generally “thinner”). Normally, less fat in a piece of meat that is usually tough may not taste as good. It was not the case here. The pot roast I cooked last week was simply delicious.
It is the cooking process that really makes the difference. A pot roast is braised which simply means it is cooked with a small amount of liquid while being covered (with an option of browning first). As long as you have the time, this cooking method is so simple and easy; it’s hard to not have good results.
Here is a list of some of the cuts of meat that I received which would be perfect for braising (the first four are great for pot roast):
-chuck roast
-rump roast
-boneless cross rib roast
-brisket
-swiss steak
-short ribs
-beef stew
-beef shank
If you are in a store and not sure which is which, don’t be afraid to ask. Most of these cuts are in 1.5-3 lb pieces which should yield enough meat for 4-6 people. Once you have the meat, the next thing to do is prep. My suggestion is to do this first thing in the morning and throw it in the crock pot. You can also use a dutch oven, like a Le Creuset pot, and allow it to simmer either on the stove or in the oven.
Before I provide the recipe, I just wanted to go over the methodology. This way, if you want to use other seasonings or liquid, you will understand the process. I’m going to add something else. Take the meat out between 30-60 minutes before step 1. A cold piece of meat will take longer to cook and usually it is safe to leave it out for this short period of time.
1. Season
For the seasoning, you can never go wrong with salt and pepper. After that, it’s to taste. I’ve used paprika, thyme, oregano, rosemary, garlic, cumin and chili powder. Look to see what’s in the spice drawer and be creative. Pat the meat dry before you season. If you do this, you’ll get a better sear since there will be less water. The searing process adds a lot of flavor. If you’re not searing, it’s not a big deal.
2. Sear
If you are going to sear the meat, get a big pan and heat it to at least medium, maybe higher. Add some olive or vegetable oil like avocado. Place the meat in the pan and don’t move it around. Allow it to brown for 2-3 minutes per side. Try to brown all four sides if you can and possibly the sides depending upon the shape. If you are using a crock pot, remove the meat and place in the crock pot. You can then add some water to the hot pan to get some of the flavors from the “fond” (that’s what the brown bits are called in the bottom of the pan). Proceed with the recipe for the crock pot.
If you are cooking in a dutch oven/Le Creuset, I recommend searing the meat as you can do all of this in one pot.
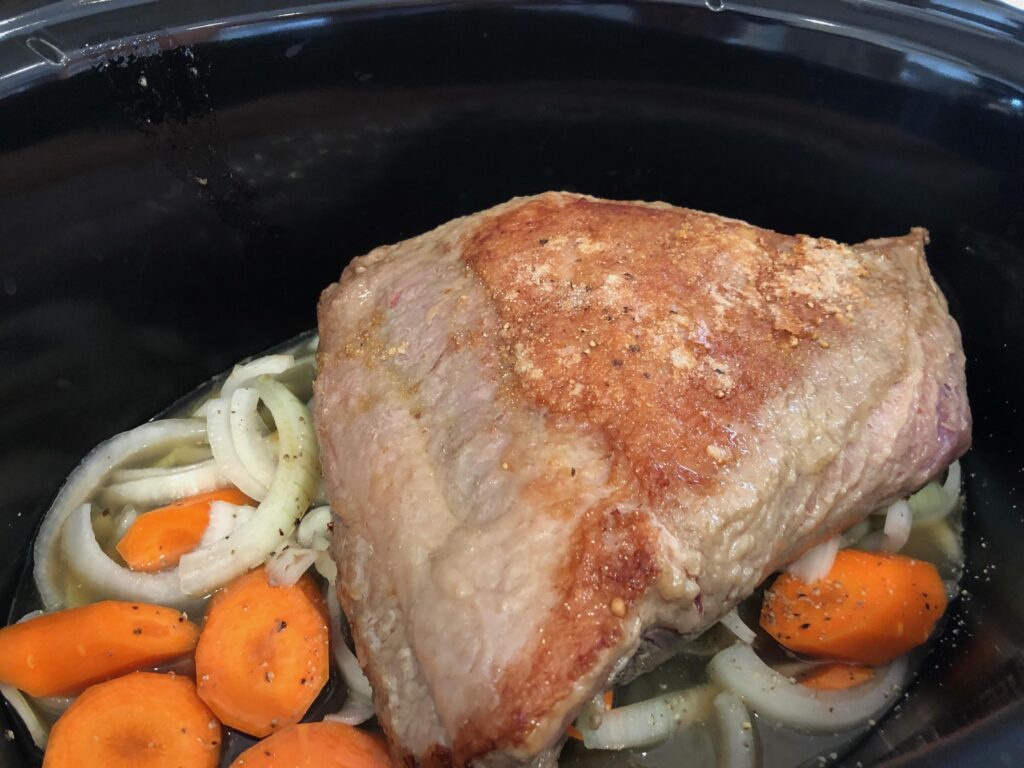
3. Veggies
Vegetables are a must in my opinion to give the broth flavor. I like carrots and onions, at a minimum, and I also add celery or turnip. If you want to add peas or potatoes, do this at the end. Actually, if you want to add any vegetable that shouldn’t be too mushy, add those at the end. 6 hours of cooking any vegetable may result in great flavor but it’s shape will probably be indistinguishable.
4. Adding Liquid
The liquid you use can be anything from water to broth to tomato sauce or even wine or (gluten-free) beer. The best thing to do is experiment until you find a good balance of flavors you like. Believe it or not, you only need about 1 cup. I like to use broth bases that I keep in the fridge (it’s like having a jar of bouillon). I usually use about 1 tsp of base for every cup of water. If I add anything else, it’s just a small amount. More recently, I have been using a shelf-stable broth concentrate that come in small packets; I keep these in the pantry.
5. Cooking Process-Low and Slow
Once you have added the liquid, the process is to let it cook at a low heat for a long time; this way the meat does not seize up from the high heat and gives you a tender product. If you have a crock pot with high and low settings, you can probably cook it on high for about 3-4 hours or on low for 6-8. Check the instructions. A lot depends on the size and temperature of the meat before you begin.
If you are using a dutch oven, bring the pot roast to a low boil, lower to a simmer, cover, and cook 2-3 hours or until tender. Yes, the downside of a pot roast is that it is not a 30 minute meal. If you plan correctly in the morning, you can have dinner on the table in 10 minutes.
6. Rest and Cut Against the Grain
Once the meat is fork tender, remove from the pot and place on a cutting board, preferably with grooves to catch any liquid as it sits. After 15 minutes or so, cut the the meat on the grain. If you look at the meat, you should see parallel lines; these long muscle fibers are better known as “the grain”. When you cut perpendicular or “against the grain”, the meat will be nice and tender making each bite easier to chew. If you cut on the grain or with the lines, the meat might be chewy and tough to eat.
Here is the recipe I used last week (well over 17 years ago!). The whole family enjoyed it and went back for seconds. I hope you’ll try it.
Not My Mom’s Pot Roast
Makes 4-6 Servings
- 1.5 – 2 lb chuck roast
- Salt, pepper, garlic powder, rosemary and oregano (make sure spices are gluten-free)
- 1 onion, chopped
- 2 carrots, peeled and chopped
- 1 – 2 celery stalks, chopped
- 1 cup gluten-free beef broth (or see above for other liquids you could add)
- 2 tablespoons tomato paste (I opened a small can and froze the rest)
- 3 – 4 anchovies or 1 teaspoon anchovy paste (for flavor only; can be omitted or substituted with 2 teaspoons gluten-free soy sauce or coconut aminos)
- 2 tablespoons balsamic vinegar
- 2 – 3 potatoes, peeled and chopped (omit for low carb/paleo)
- 1/2 – 1 cup of frozen peas, slightly thawed (omit for low carb/paleo)
- Optional: cornstarch slurry-1 or 2 tablespoons of cornstarch mixed with the same amount of cold water
- Generously season all sides of the meat on a plate or large bowl
- In a large pan or dutch oven, heat to medium or medium high. Place meat in the pan and brown each side. See instructions above in the “Sear” section to get extra flavor from the pan.
- Add all ingredients into a crock pot* EXCEPT potatoes and peas. Ideally start this process in the morning or early afternoon.
- Set to high for 3 – 4 hours or low for 6 hours.
- 30 minutes prior to the end of the cooking time add potatoes to pot and stir. Allow to cook for about 20-30 minutes. Add peas 5 minutes before the end of the cooking time.
- Check meat by using a fork to see how tender it is. If it’s not falling apart, cook longer.
- Remove meat and place on a dish or cutting board that can catch the juices. Cover and let rest 15 minutes or so.
- If you want a thicker gravy, heat liquid in pot to simmering. Note: if there is a lot of fat from the meat, remove liquid from the pot first and cool slightly to allow the fat to rise. Then add the liquid back into the pot. To thicken, add the cornstarch slurry (simply mix the cornstarch with cold water) by stirring into the pot and simmer 2-3 minutes. Taste and adjust seasonings as it might need more salt and pepper.
- Serving suggestion: serve over polenta or gluten-free noodles with juice/sauce from the pot.
*If you have an electric pressure cooker, you can sear the meat first, add the broth to get the bits up from the bottom, and then the veggies (carrot, onion, celery). Pressure cook on high for about 70 minutes (if smaller or larger than a 3 lb piece, adjust time) and use the natural pressure release. Once you are able to open the top, add the potatoes, close the top, and pressure cook on high for 2 minutes with quick release. Open top and add peas. Wait about 3 minutes before serving so peas can come to the proper temperature. If you want a thicker sauce, remove the meat in step 7 and then follow step 8, using the Sauté feature on the pressure cooker.
Leave a Reply