Originally posted September 27, 2013
Arepas (ah-ray-pahs) are a corn pocket which can be found on many street corners in Venezuela. I first became familiar with them when I met Adriana Lopez Vermut from Pica Pica Arepa Kitchen at the Gluten-Free Spree in San Francisco in 2009. At the time, she only had a location in Napa’s Oxbow Market. Now, there are two other locations in San Francisco (Mission and Castro areas). Click on that link and scroll down to see exact locations. I wrote an article about Pica Pica as well.
She was recently featured on Diners, Drive-Ins and Dives with Guy Fieri. He, like most people, was blown away by Pica Picas’ arepas. The flavors of the arepa fillings are really amazing. I believe he deemed them “outrageous”, possibly the highest triple D compliment one can receive.
A few years ago she invited me to come to her restaurant to make a special Family Chef recipe for the arepas. I chose a sweet potato and black bean-style chili which went very well with the crunchy on the outside-soft on the inside corn pocket. I only made arepas once since then and decided recently I needed to try them again; practice makes perfect!
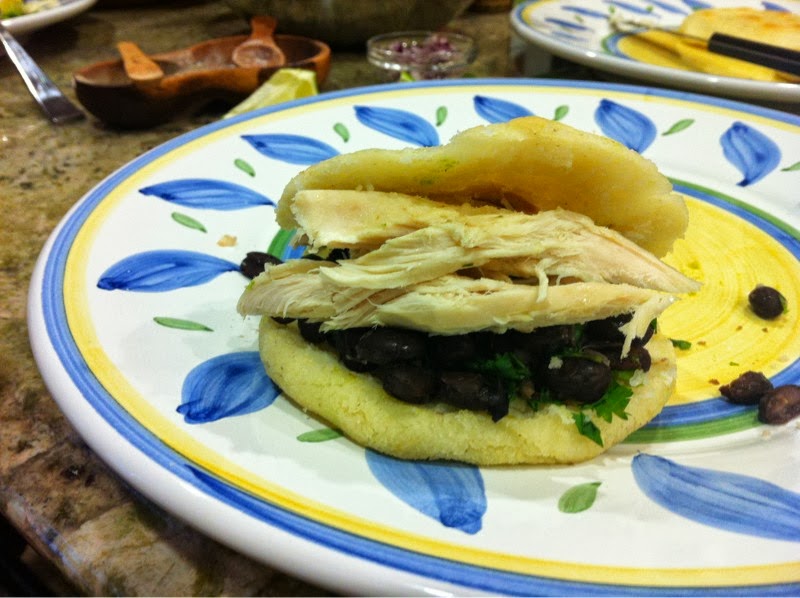
For the filling, I made a crock pot Latin-style chicken and served it with black beans, cilantro, avocado, red onion, and lime. My family loved it (especially the make-your-own part as we each like different fillings). They were delicious!
Well, here is my tutorial for you. I hope it helps to make you successful!
How to Make Arepas
Makes 8 arepas
● 2 teaspoons fine sea or kosher salt
● 2 cups/325 gm P.A.N. precooked white cornmeal
● 1 teaspoon vegetable oil plus more for shaping
Note: before you start, prepare your filling. If you want to use the sweet potato-black bean chili, use less liquid. The filling should be more like a salad consistency that holds together on its own.
- In a large bowl, whisk together salt with 2 ½ cups of warm water until fully dissolved, about a minute. Gradually add the P.A.N. precooked white cornmeal and 1 teaspoon of the oil, mixing vigorously with your hands as you go. Knead the dough for a few more minutes, making sure the dough is smooth and lump-free. It should feel moist and tacky, but not sticky. If it’s too sticky, sprinkle in a tablespoon of the P.A.N. at a time, mixing well after each addition. If it seems too dry, add water a tablespoon at a time until the texture feels right.
- Cover the bowl with plastic wrap and let the dough rest for at least 10 minutes, or up to 2 hours, so it can fully hydrate.
- Heat oven to 425°F. Place a wire rack on top of a baking sheet and set aside.
- Divide dough into 8 portions; each piece should be about 80 gm but eyeballing is fine. Lightly grease your palms with vegetable oil. Gently flatten each dough ball into a disk (I picture a hockey puck) about 4″ across and approximately 1⁄3″ thick, patting the dough from hand to hand. Shaping the dough into a disc slowly will prevent it from cracking.
- Transfer the disks to a large plate and keep covered until ready to fry.
- Heat a large, dry skillet over medium-high heat. Once the pan is very hot, add 2 to 3 arepas to the pan depending on size. You should hear a sizzle when the dough hits the pan. Press lightly in the middle of the dough every now and then, so the trapped steam can escape. After about 3 to 5 minutes, flip the arepas and cook on the other side for an additional 3 to 5 minutes. The arepa should have a little bit of color, and each side should be cooked and crispy.
- After the arepas have been cooked, transfer the arepas onto the wire rack with the baking sheet and move to the oven for 4 to 5 mins to finish cooking.
- Remove from the oven and let rest 5 minutes.
- When ready to serve, hold a warm arepa between a kitchen towel to protect your hand from escaping steam. Use a sharp paring knife to slit arepa around the edges (like an English muffin) to create a pocket. The inside will be slightly doughy but not raw.
- Carefully fill the split area with desired filling and enjoy.
Leave a Reply